How to Make Your Own Pinboard
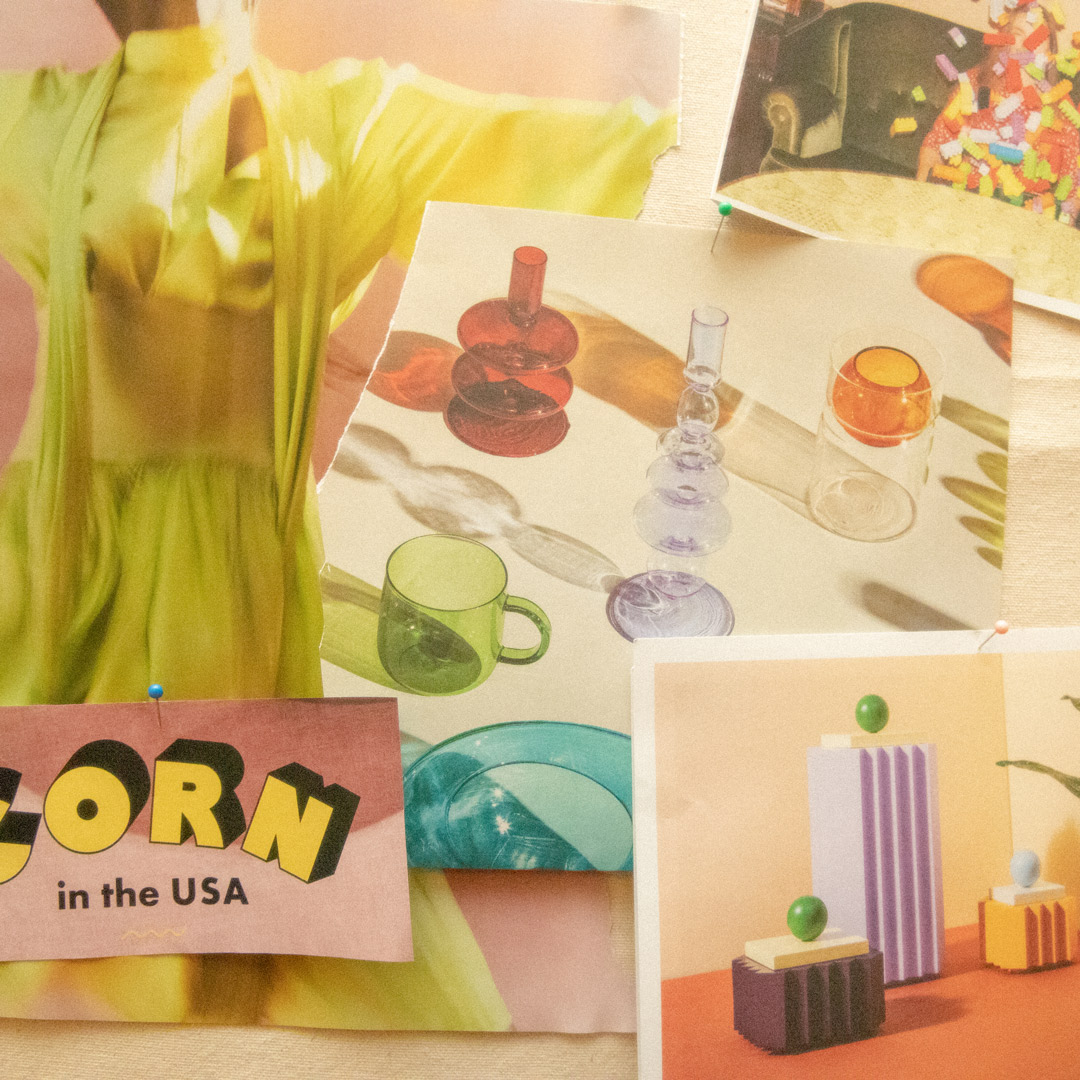
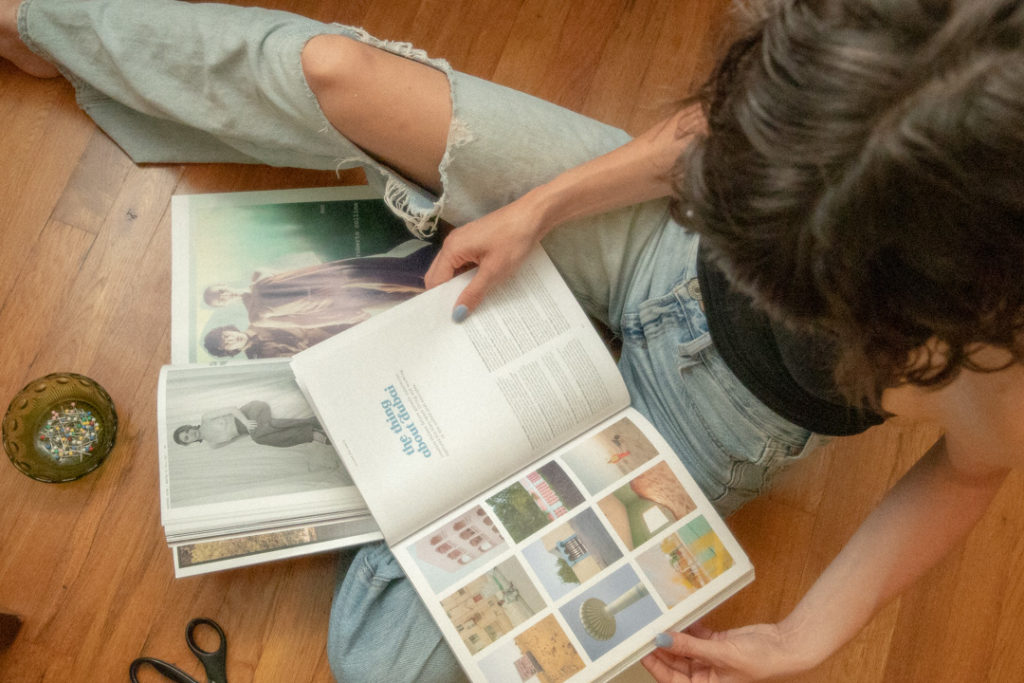
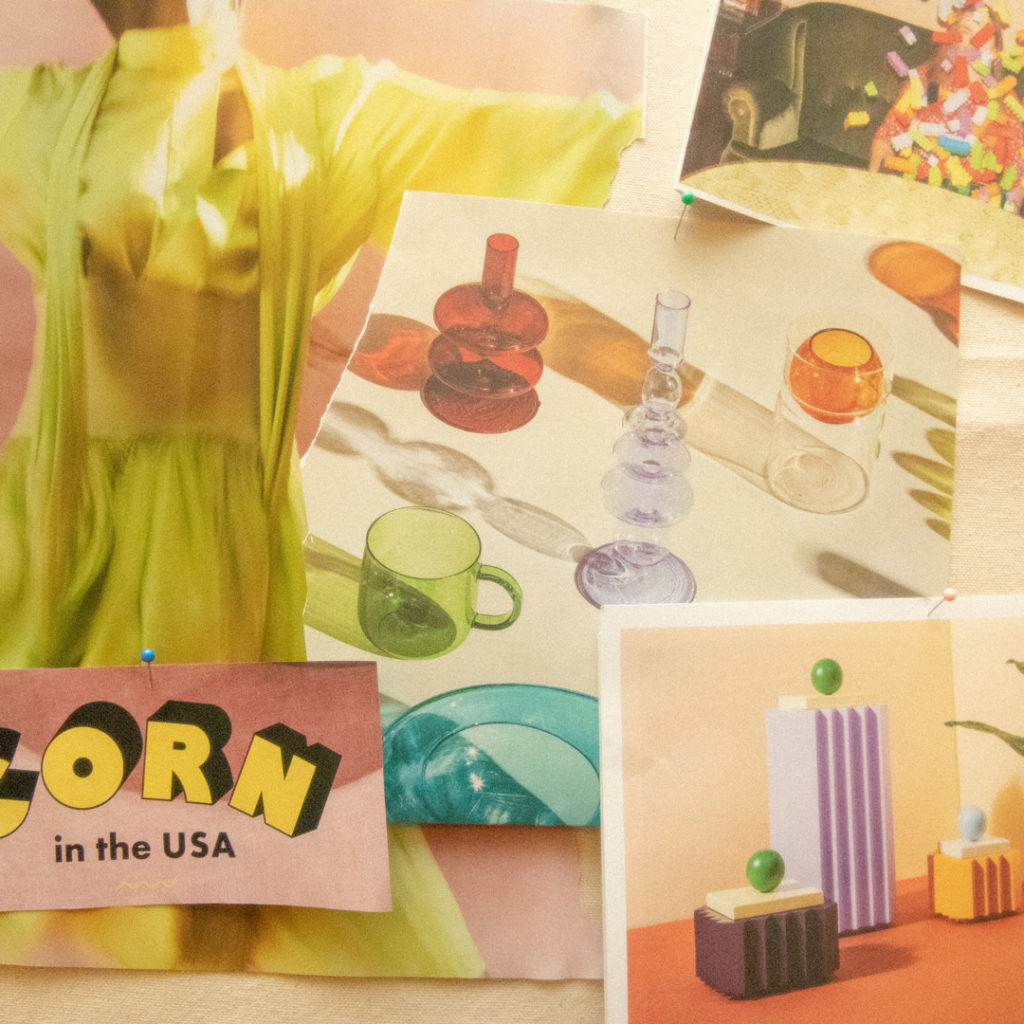
I don’t know about you, but getting away from my desk and seeking inspiration and gathering my thoughts in the physical, tangible world is a GAME CHANGER. These DIY pinboards have been the perfect addition to my office, an invitation to sit criss-cross-applesauce, chop up some magazines and curate vibes to my heart’s content.
Use these pinboards to create project mood boards, a vision board, or fill them up with pictures of your kiddos!
Project Timeline: A few hours (depending on how functional your stapler is lol)
Pinboard Size: You can make your pinboard whatever size you like, but 2ft x 4ft feels like the perfect size to me. It also makes everything really easy because the particleoard comes in 2×4 and the foam board is available in 2×2.

Supplies:
- Particleboard
- Insulation foam board–I used 2 sheets that measure 2ft x 2ft in order to make a 2×4 pinboard
- Canvas Fabric–I prefer a thicker material like this Duck Canvas but you could use a muslin, if you prefer. Yardage depends on the size of the pinboard you want to make. If you’re making a 2×4 pinboard and the fabric is 60in wide, 1 yard is perfect.
- Iron
- Hot Glue Gun + Hot Glue Sticks
- Staple Gun + Staples

How To:
- Gather your materials.
- Iron the canvas fabric with high heat. To get stubborn wrinkles out, mist the fabric with water and then go back over it with an iron.
- Hot glue the foam panels to the particleboard. (Learn from my trial and error–USE HOT GLUE. Don’t try to substitute with whatever other glue you may have lying around. I was out of glue sticks when I started making my boards and I tried 3 different craft glues, to no avail, before throwing in the towel and running to Michaels for hot glue sticks. 🙃
- Lay your fabric flat on the *clean* ground. The side you want showing in the final product should be face down. Lay your board on top of the fabric, foam side down. Make sure to have an excess of 4-5 inches of fabric on all sides of the board.
- Fold the fabric around the edge and staple to the back of the board. Be sure to pull the fabric taut as you make your way around the whole board. Try to keep the frabric from bunching as best as possible so that it lays flat if/when you hang it on the wall.
- Flip your board around, pat yourself on your back and start pinning!

Leave a Reply Cancel reply
© 2021 Kulu Design Co
Very helpful instructions! Appreciate any way to save money and get the creative juices flowing as preparation for filling in the mood board! Thank you, Kulu Design!